Trijatech PST Converter
Convert PST File to New PST, MOBX, EML, EMLX, MSG, Thunderbird, PDF, CSV, XLSXm GIF, JPG, HTML, MHTML, PNG, Doc, Docx, Docm, VCF, and ICS Formats.
A Step-by-Step Guide to Convert PST File Items to PST and Other Formats.
Launch the TrijaTech PST Converter Software.
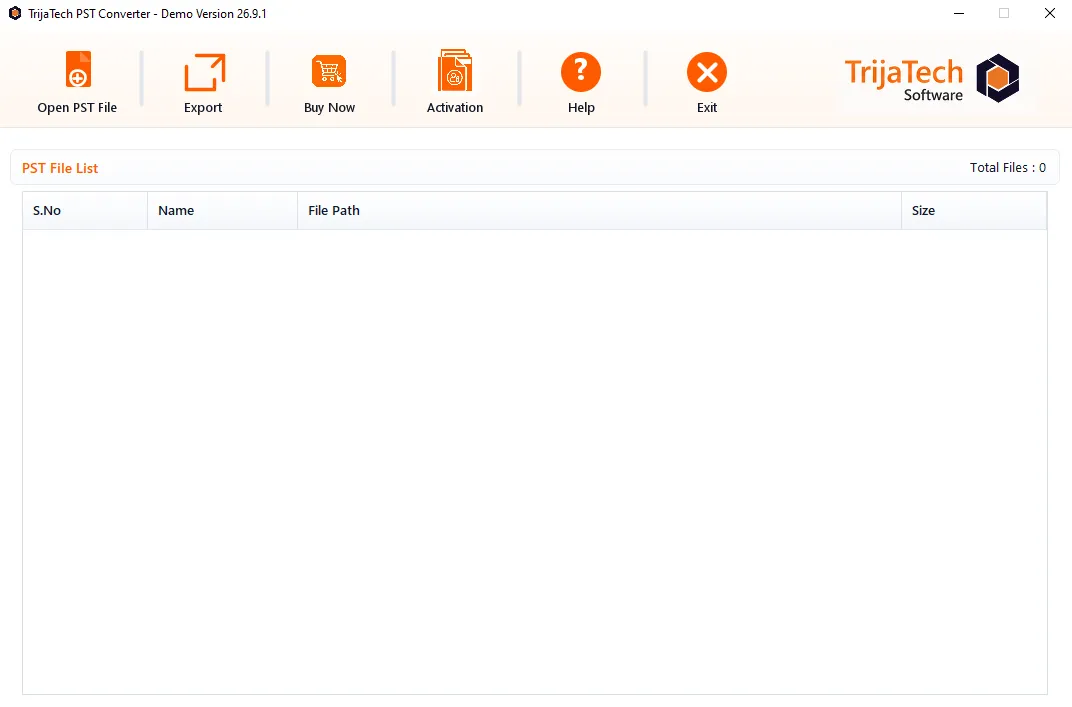
Install and open the TrijaTech PST Converter on your system. The software opens to an empty PST File List screen, ready for you to add a file.
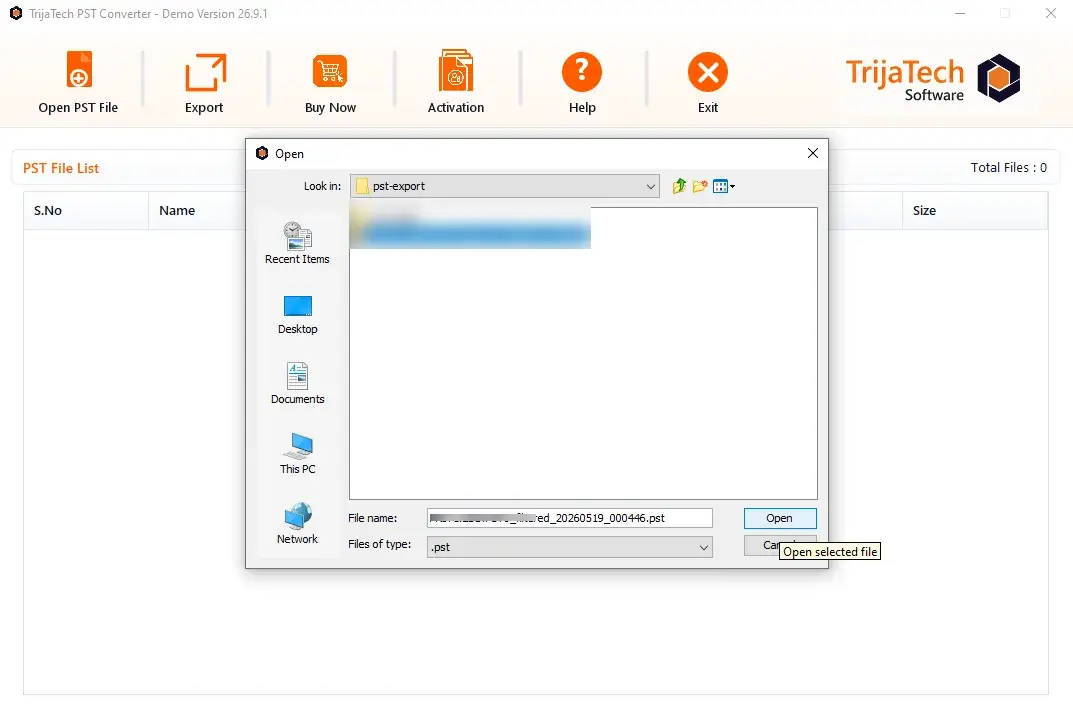
Open the PST File.
Click on the Open PST File button, browse to the location of your PST file, select it, and click Open to load it into the software.
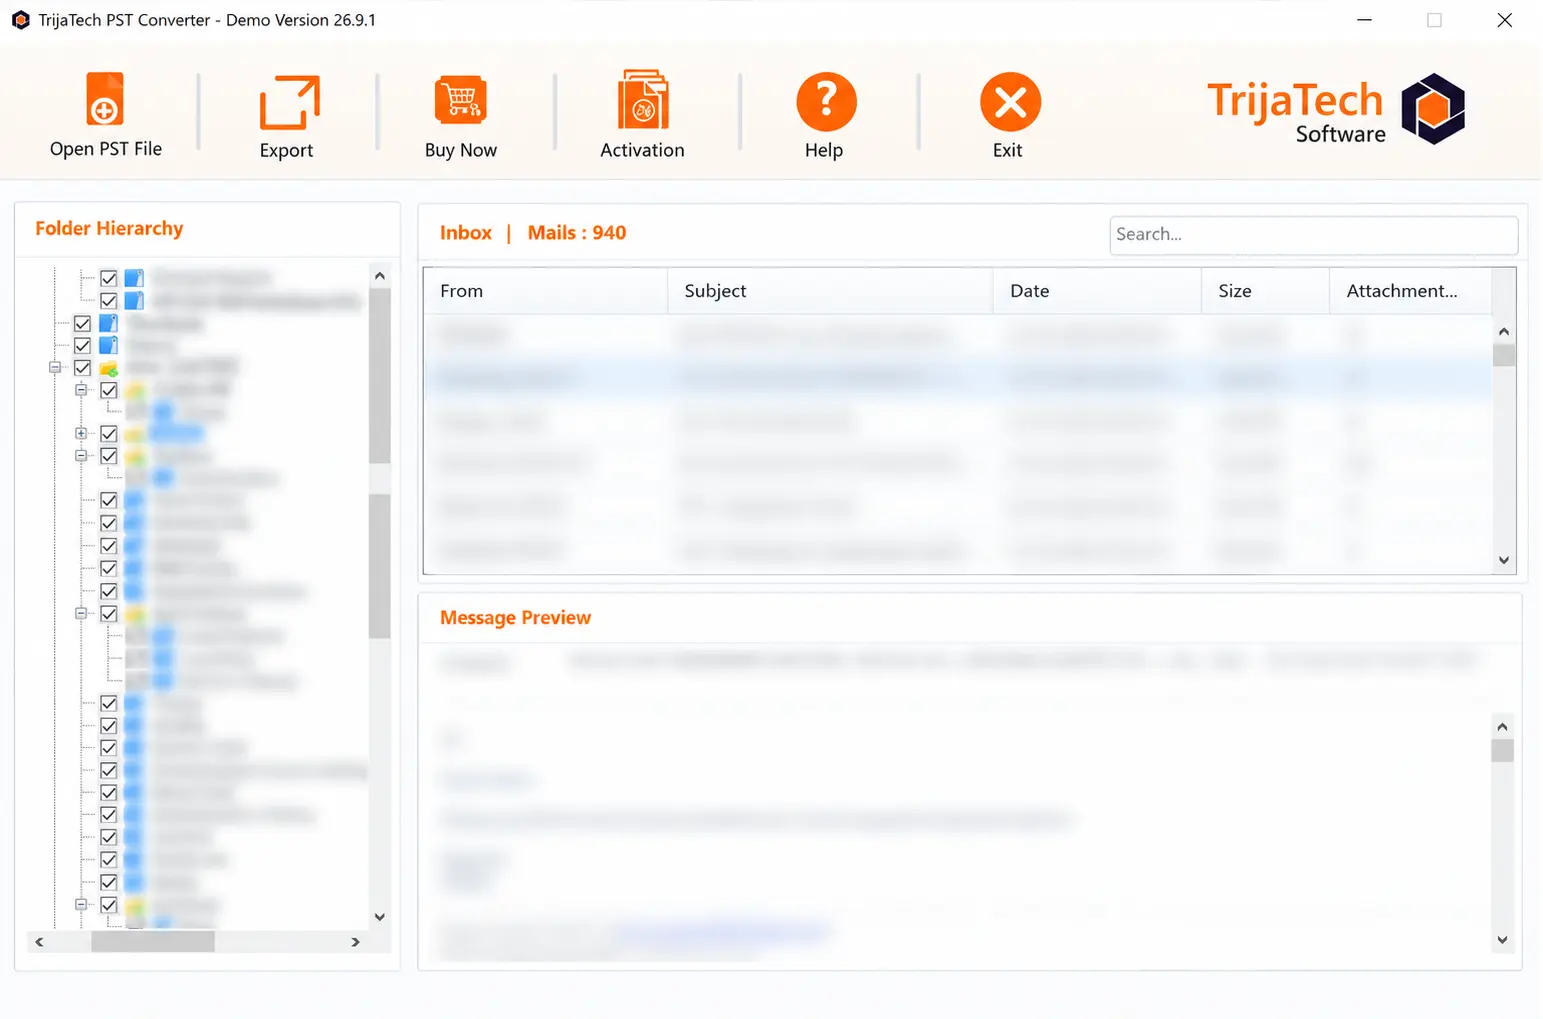
Select the Mailbox and Preview Items.
Once the file loads, browse the folder hierarchy on the left, select any mailbox folder such as Inbox, and preview individual emails, attachments, and metadata on the right.
Choose the Export Format.
Click on the Export button and choose your desired output format from the list - PST, MBOX, EML, EMLX, MSG, and more - based on your migration needs.
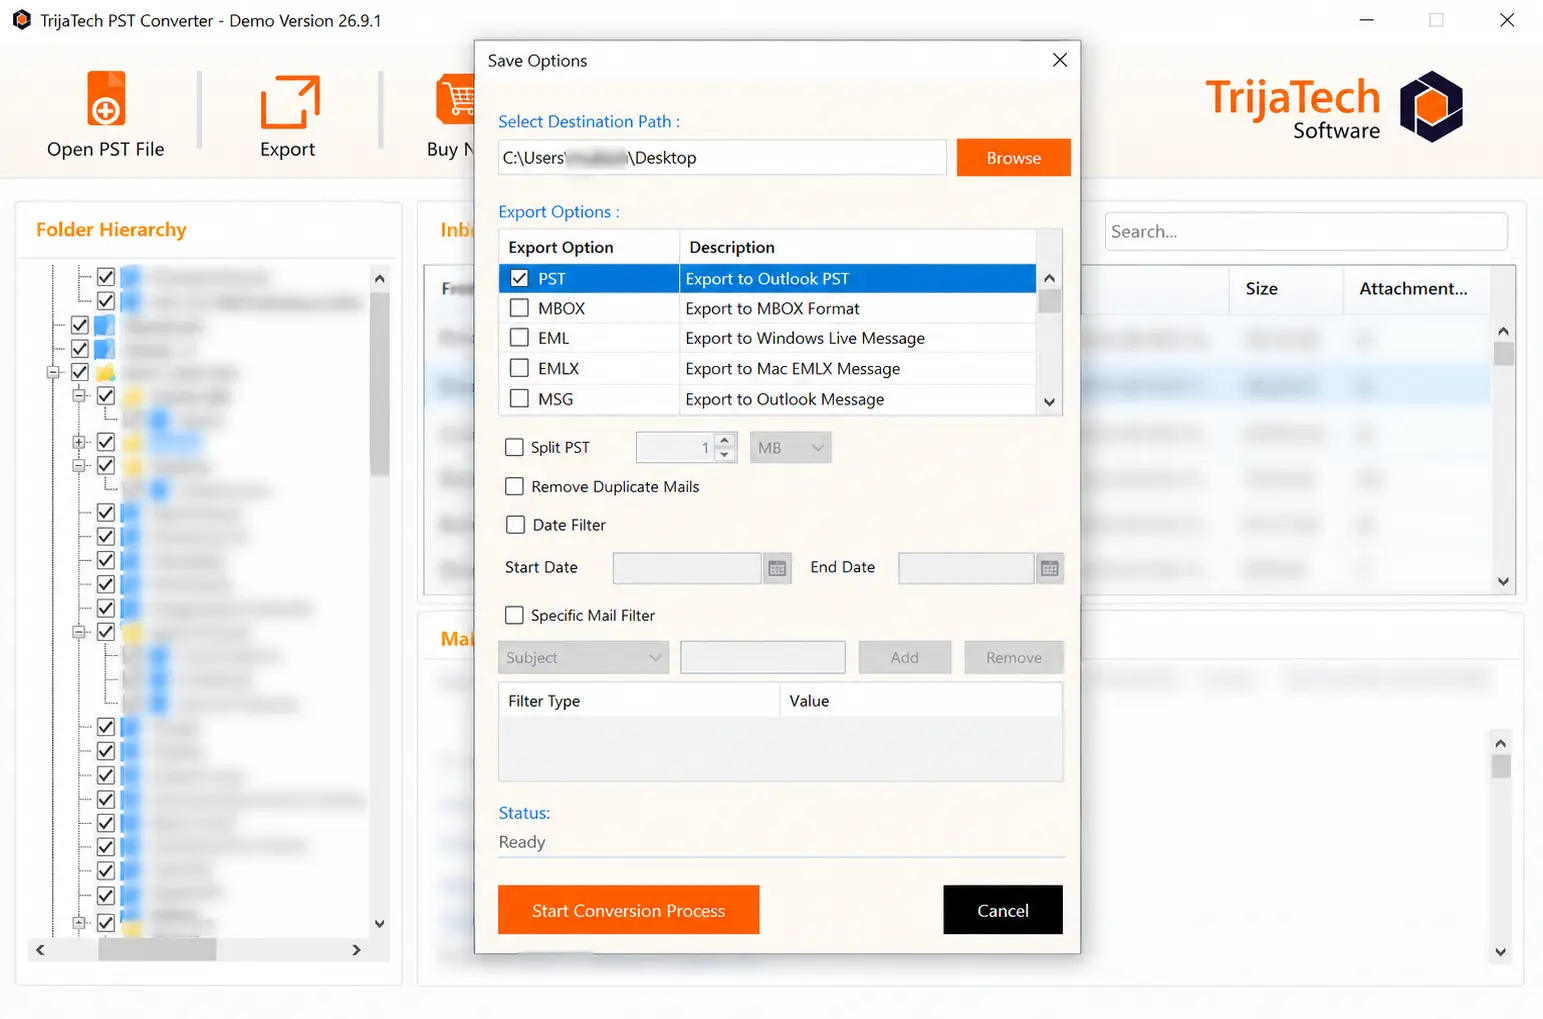
Apply Split, Deduplication and Date Filter Options.
Optionally enable Split PST and set a size limit, turn on Remove Duplicate Mails to clean up the output, and use the Date Filter to convert only emails within a chosen date range.
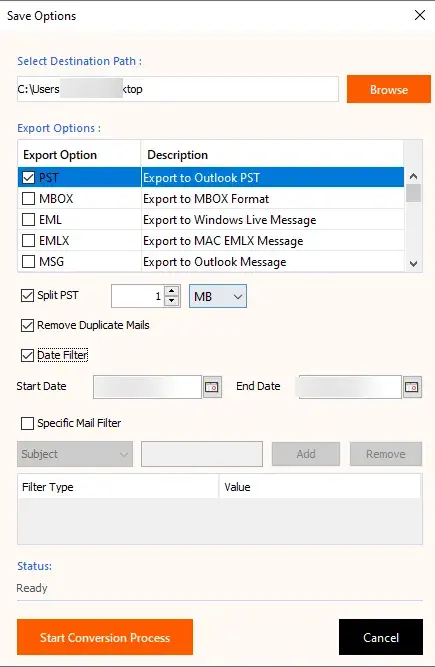
Add a Specific Mail Filter.
Enable Specific Mail Filter, choose a filter type - Subject or Sender Mail ID - enter the value, and click Add. You can add multiple filter rules or remove any you no longer need.
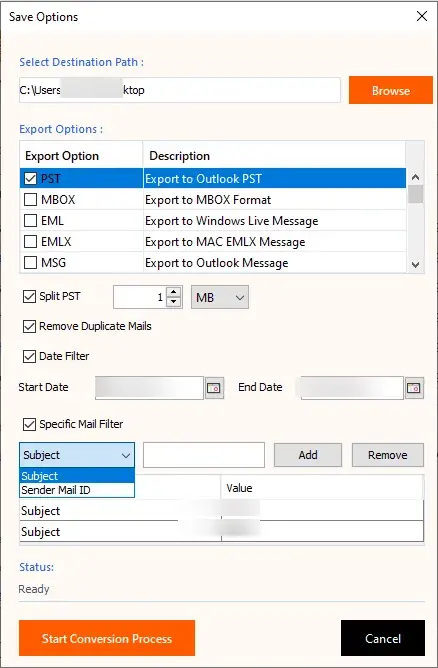
Start the Conversion Process.
Click Start Conversion Process. The demo version lets you export up to 20 emails per folder for evaluation - click Buy Now to unlock the full version, or Continue with the demo.
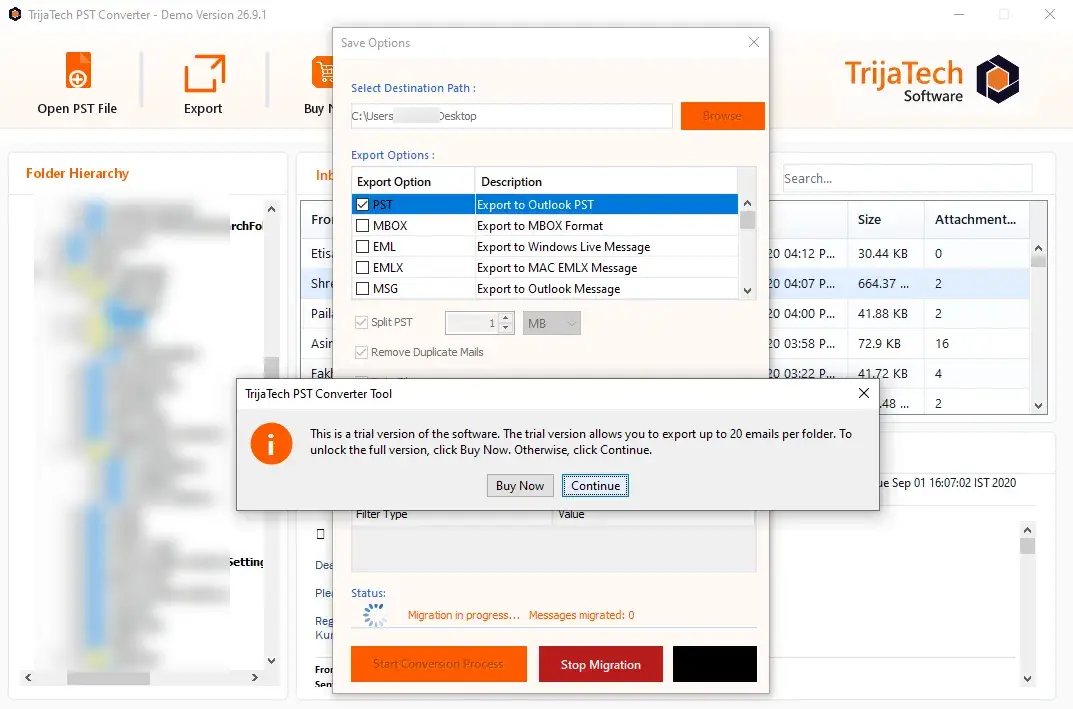
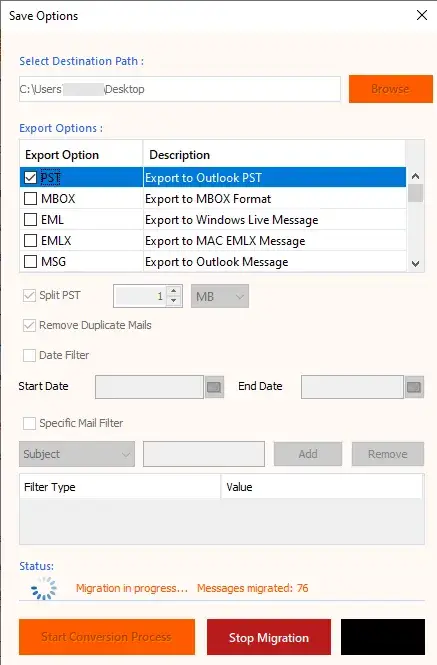
Track the Migration Progress.
Once conversion begins, the status bar shows Migration in progress along with a live count of messages migrated. You can stop the migration at any time if needed.
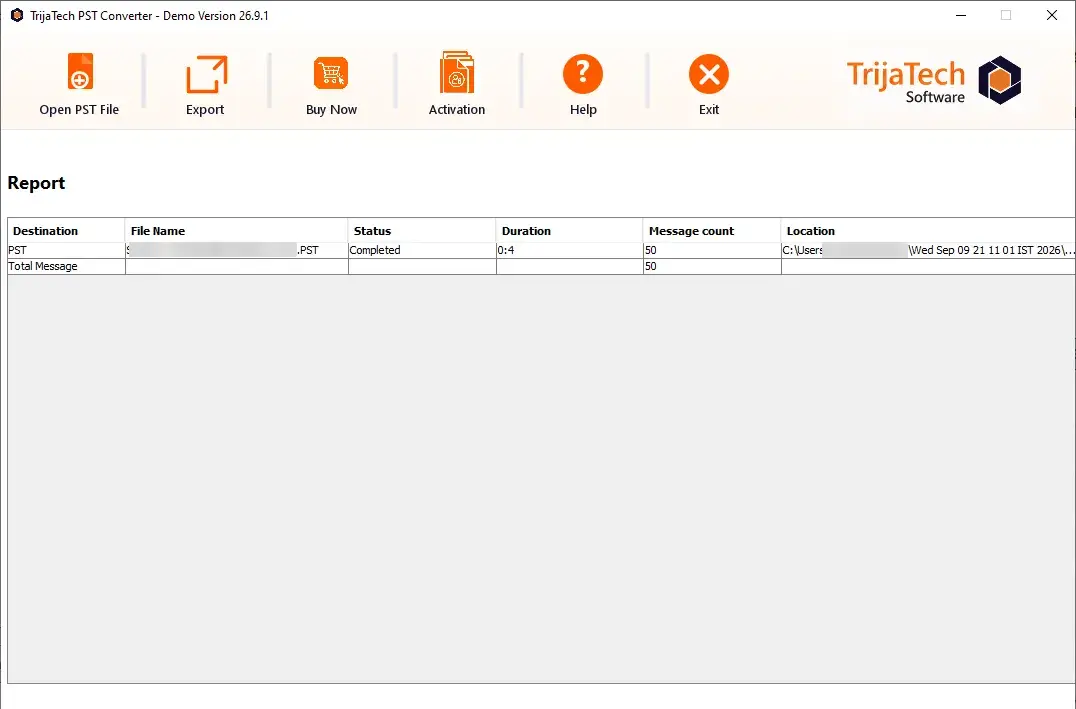
Review the Final Migration Report.
After completion, a detailed report is displayed with the destination format, file name, status, duration, total message count, and the output file location.